Locker Cubbies created for Crates & Pallet by www.ThatsMyLetter.com
For original instructions, click here
Materials:
6 - large Crates & Pallet crates
6 - small Crates & Pallet crates
1 - 2x4x8 stud
1 - 1x4x6 pine board
1 - 1x10x8 pine board
Wood Glue
3", 2" & 1 1/4" crews
1 - 1/4" finish nails
7/8" spade bit
Cut List:
1 – 2x4 @ 37 ½” (base front)
2 – 2x4 @ 8” (base sides)
1 – 2x4 @ 34 ½” (base back)
6 – 1x10 @ 12” (shelves)
2 – 1x4 @ 9 ½” (side trim)
1 – 1x4 @ 39” (front trim)
1 – 2x12 @ 39 ½” (top)
Step 1: Using the first three items on the cut list, construct the base as shown in the diagram. Use 3” screws to connect the (2) 2x4@8” base sides to the (1) 2x4@37 ½” base front, and then attach the (1) 2x4 34 ½” base back to the complete the structure.
Step 2: Using the (6) 1x10 @ 12” pieces from the cut list, install shelves in all large crates as shown in the diagram. Shelves should be installed at 6 ¼” from the bottom of each large crate. Use the wood glue along (3) shelf edges that contact the inside of the crate and then attach using 1 ¼” finish nails through outside of the crate sides.

Step 3: With the large crates vertical and shelf toward the bottom, attach (3) large crates onto the base using 2" wood screws. A long screw bit fits conveniently in between the slats to attach the crates at the back side. Using 1 ¼” wood screws, attach these (3) crates to each other. Continuing with 1 ¼” wood screws, attach remaining (3) large crates to each other and to the crates attached to the base. Use clamps to keep crates in place while attaching to each other.
Step 4: Attach the (2) 1x4 @ 9 ½” (side trim) and the (1) 1x4 @ 39” (front trim) from the cut list using wood glue and 1 ¼” finish nails to cover the exterior of the base.
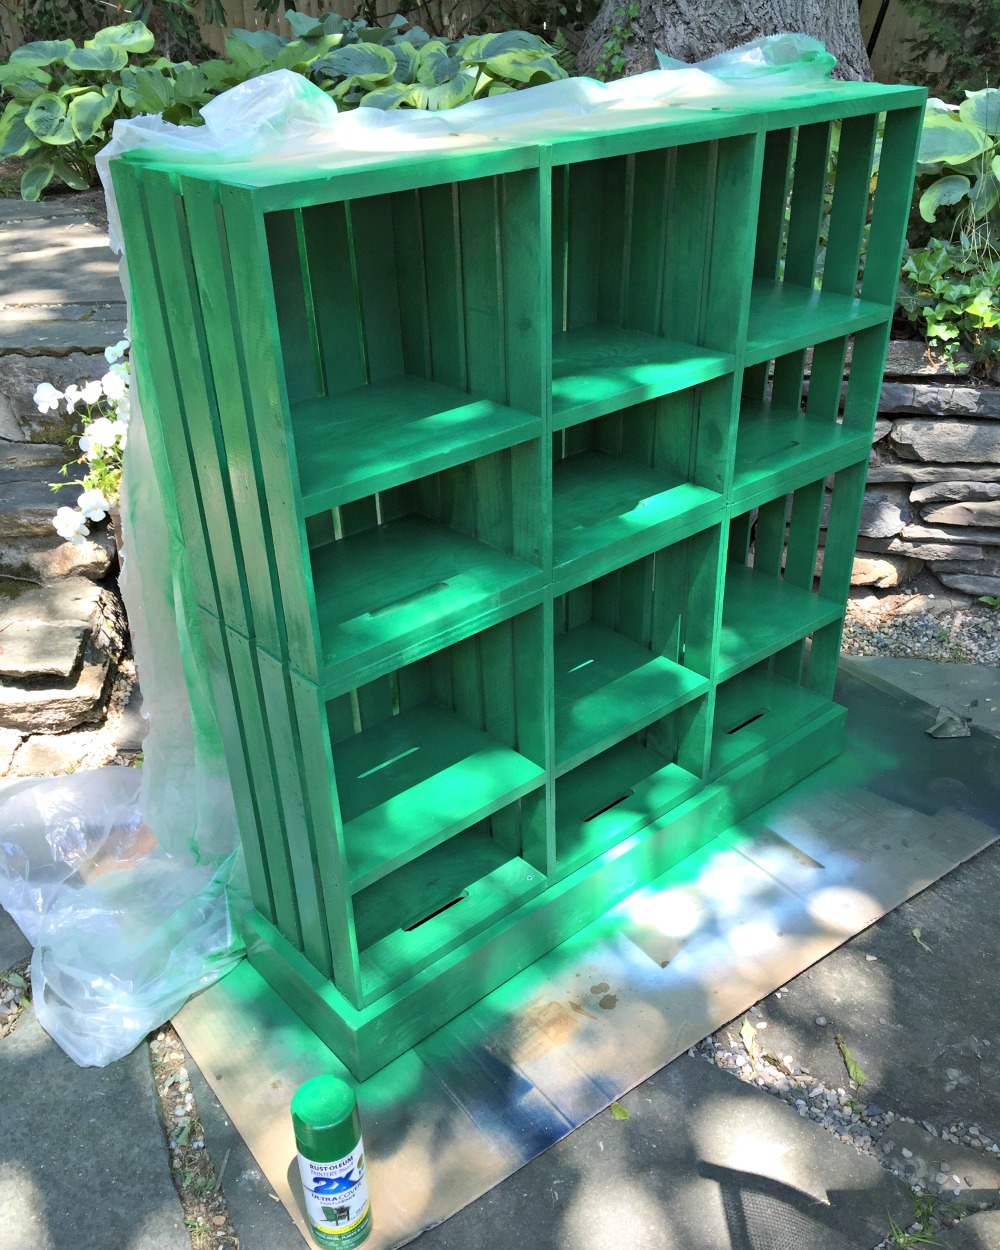
Step 5: Paint or finish as desired. To get this project look, use Rustoleum green spray paint in gloss finish on the unit. Stain the top and the (6) small crates with Minwax early American and seal with clear wax. Spray paint the base before attaching the top. Staple plastic to the back to prevent the spray from going everywhere.
Step 6: Once dry, attach top from the underside using 2” wood screws
Step 7: Sand the non-slatted sides of the (6) small crates. Start with a low grit sandpaper (60) and aggressively remove some of the wood from the crate on both sides. Then sand smooth using 150, 220 grit sandpaper and the drawer should be able to operate easily gliding in and out.
Step 8: On the slatted side of the (6) small crates, mark the center and use a 7/8” spade bit to make the pull hole in the small crate drawers. Clamp a piece of scrap wood behind the crate front in order to prevent splitting. Once all six are completed, slide the small crates beneath the crate shelves in the large crates with the slatted sides facing out.